

Suspension setup – Adjust and tune your front fork
Dial in your suspension setup in 4 steps
> Tools you'll need
> Step-by-step guide
> Advanced tuning options

Why adjust your suspension fork?
The right suspension setup helps your fork deliver better traction, control, and damping performance. The same principles apply whether you're setting up a lightweight XC fork or a long-travel dual-crown fork for downhill and freeride. In this guide, you'll learn how to establish a solid baseline setup and fine-tune it for your riding style and terrain.
What can you adjust on a suspension fork?
The available adjustments depend on the suspension fork on your bike. Higher-end forks typically offer more tuning options.
Basic adjustments
- Air pressure or coil spring rate
- Rebound
- Compression
Advanced adjustments
- High-speed / low-speed rebound (HSR, LSR)
- High-speed / low-speed compression (HSC, LSC)

WHAT'LL YOU NEED
Tools and materials
- Shock pump
- Tape measure, ruler, or calipers
- Cable tie (optional)
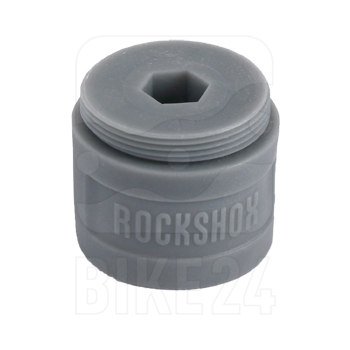
- Hex key (optional)
- QUARQ ShockWiz setup tool (optional)
Got everything ready? Let's get started.
Before you start
A few recommendations before you begin:
- Make sure your suspension fork is working properly and has been serviced.
- Change only one setting at a time and test it immediately afterward.
- Ask someone to help with the initial setup.
- Setup tools such as the QUARQ ShockWiz can speed up the adjustment process.
- Wear the same gear you normally ride in, including your usual hydration pack or backpack.
- Adopt a neutral riding position on the bike during setup.
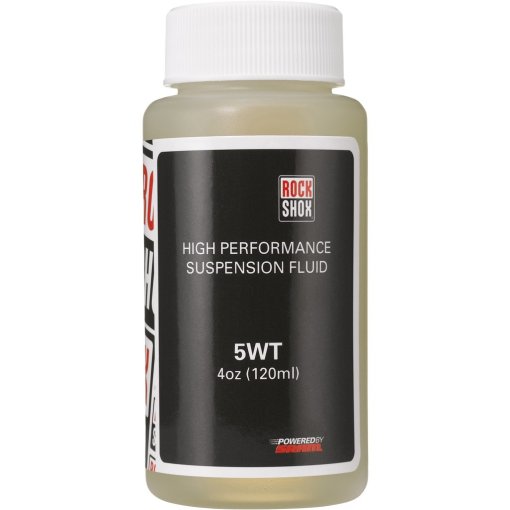
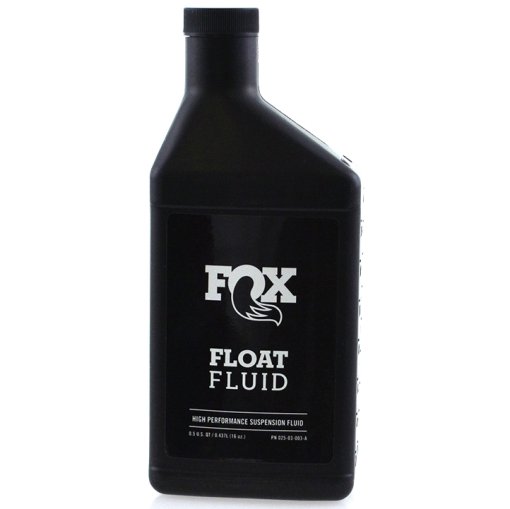
Expert tip: Suspension forks from leading manufacturers such as RockShox and FOX often include recommended pressure and setup charts. Many brands also offer online setup tools that provide baseline settings when you enter your fork's serial number, usually found on the fork crown.
How to adjust your suspension fork – Step-by-step guide
Follow these four steps to dial in your suspension setup.


STEP 1
Determine your fork travel
Knowing your fork travel is the foundation of a proper suspension setup. You'll often find the travel printed on the fork or listed in your bike's documentation. If you already know it, you can skip ahead to Setting sag (negative travel).
If not, follow these steps:
- Open the valve cap, press the valve with a blunt object, and release all the air.
- Fully compress the fork. Make sure the O-ring is resting against the wiper seal.
- Inflate the air spring with your shock pump. Every 10 psi, compress the fork a few times to equalize the pressure. Continue until the fork is fully extended.
- You can now measure the fork travel using a tape measure.
Expert tip: If your fork doesn't have an O-ring, use a cable tie on the fork stanchion as a travel indicator. Position it so it can slide freely along the stanchion.


STEP 2
Set sag (negative travel)
Sag is the amount of travel your fork uses under your weight when you're in a normal riding position. As a starting point, we recommend 15-20% sag.
Open the compression damping fully before setting sag (turn the adjustment dial counterclockwise or toward "-").
Inflate the air spring to the pressure recommended on the fork sticker based on your ready-to-ride weight. As you add pressure, compress the fork a few times to equalize the air chambers.
Here's how to set sag correctly:
- Sit on your bike while your helper supports you.
- Firmly compress the fork.
- Adopt a neutral riding position on the bike.
- Have your helper slide the O-ring down to the wiper seal.
- Get off the bike without putting any additional load on the fork.
- The O-ring should now sit within the recommended 15-20% sag range.
- Add air if the sag is too high, or release air if it's too low.
- Repeat steps 1-6 to confirm your setting.
- Finally, make a note of your air pressure.

STEP 3
Set rebound
If your fork doesn't have a recommended rebound setting, you can find a good baseline setting yourself using a curb or small step.
- Close the rebound completely (turn the adjusting wheel clockwise or in the "+" direction).
- Stand over the top tube facing forward and, with the front brake applied, compress the fork as much as possible. If you can't comfortably reach the fork, ask a taller helper for assistance.
- Pay attention to how quickly the fork rebounds and whether the front wheel stays in contact with the ground.
- Open the rebound damping one click at a time (turn the adjuster counterclockwise or toward "-") and keep track of the number of clicks.
- Compress the fork again
- If the fork returns quickly and smoothly without bouncing back, you've found a good rebound setting.


STEP 4
Compression adjustment (low-speed compression)
Some manufacturers provide recommended compression settings, but you can also dial in your ideal setup through testing.
- Turn the adjuster fully clockwise to close it, then fully counterclockwise to open it again. Count the clicks and set the adjuster halfway (50% closed).
- Ride a familiar trail.
- Pay attention to how much the fork compresses when braking and shifting your weight through banked corners..
- If you feel the fork is riding too deep in its travel, close the compression damping by 1-2 clicks and ride the trail again.
- Before each test run, make a note of how many clicks the compression damping is open.
Advanced suspension setup
If your fork offers a full range of adjustment options, the following tips will help you get the most out of it. Fine-tuning takes time and patience, but the reward is a setup tailored to your riding style and terrain. The best part? You'll get to spend plenty of time testing your setup on the trail.

High-speed rebound and compression
As the name suggests, high-speed damping only comes into play on fast impacts. If your fork rebounds too slowly or too quickly when riding deep in its travel, adjust the high-speed rebound setting. If the fork compresses too quickly on drops and jumps, close the high-speed compression damping by 1-2 clicks. Test the change on the trail and adjust further if needed.
Expert tips:
- Start with high-speed rebound (HSR) before moving on to high-speed compression (HSC).
- Test both extremes – fully open and fully closed – on a familiar downhill trail. Then work your way toward your preferred setting one click at a time
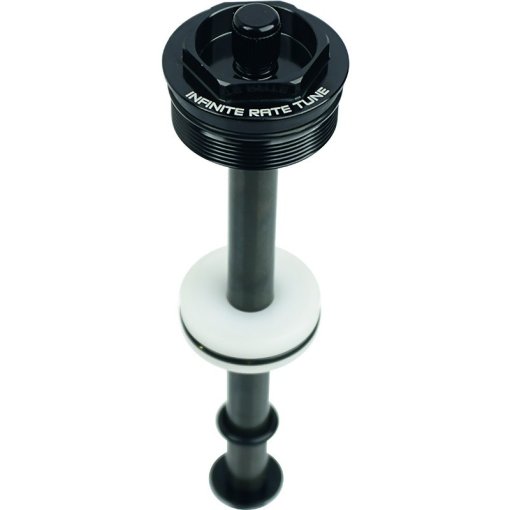
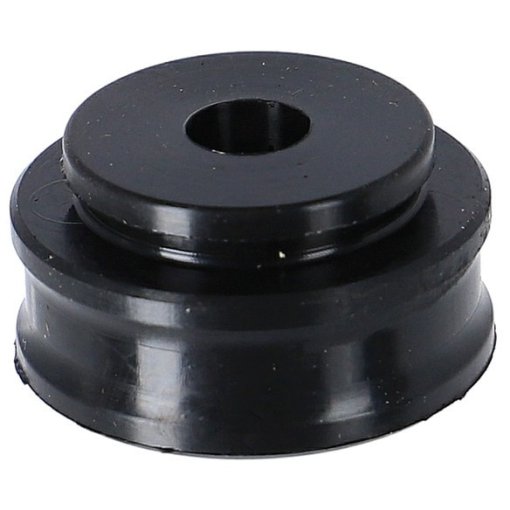
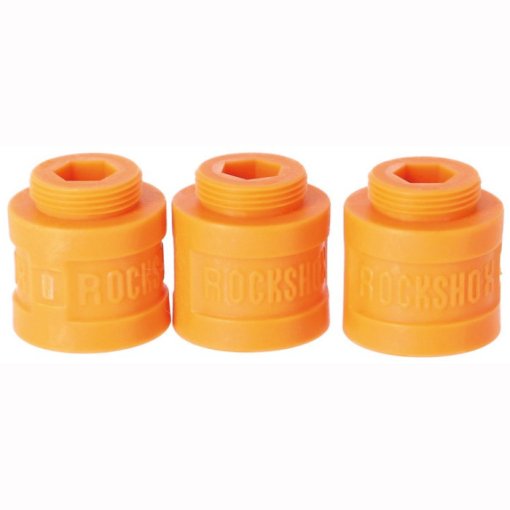
Air spring volume
Almost all modern air suspension forks let you adjust the air spring volume and, with it, the spring progression. This is done using volume spacers, also known as tokens. The illustration below shows how changing the air spring volume affects suspension performance.

With the same starting pressure, a smaller air chamber builds pressure more quickly as the fork compresses. This increases spring progression, meaning more force is required to use the full travel. In practice, reducing the air spring volume results in a firmer end stroke and greater bottom-out resistance.
Adjusting the air spring volume can help solve the following setup issues:
Problem: Sag is set correctly, but you can't use the full travel.
Solution: Remove one or more volume spacers to increase the air spring volume.
Problem: Sag is set correctly, but your fork keeps bottoming out.
Solution: Install additional volume spacers to reduce the air spring volume and increase bottom-out resistance.
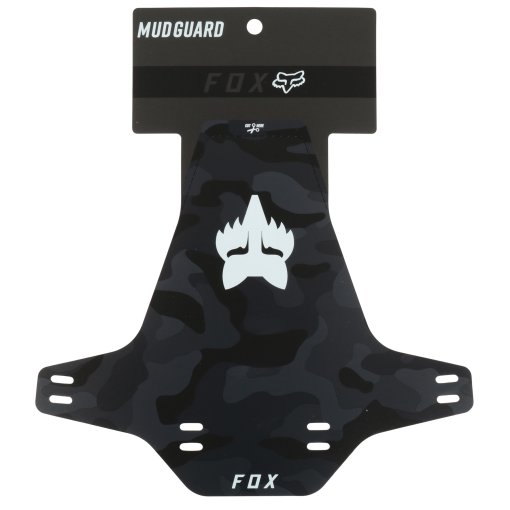
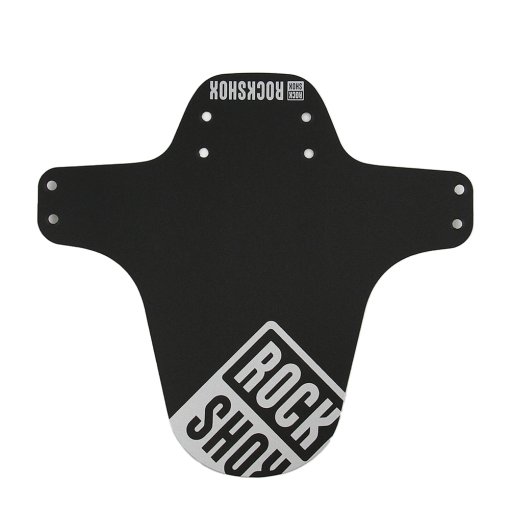
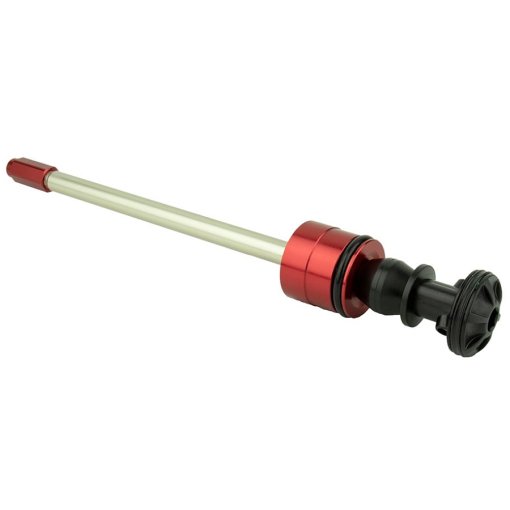
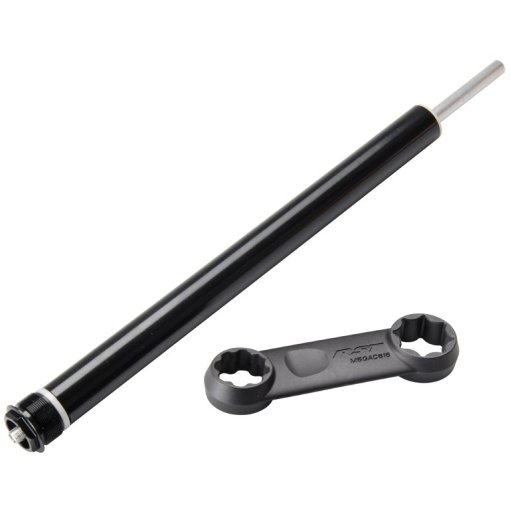
MTB suspension tuning – Popular upgrades
You've dialed in your suspension setup and want even better responsiveness, lower weight, or more precise tuning? The following upgrades can help you get even more from your fork.
Fork care – Essential for peak performance
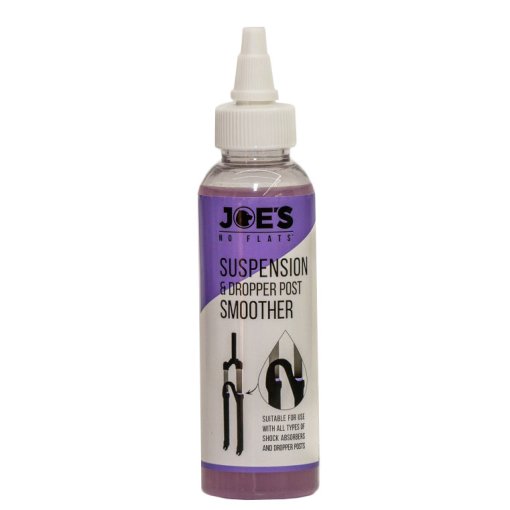
Regular cleaning and maintenance help keep your fork performing at its best. Water and a sponge or soft cloth are all you need for routine cleaning. For basic maintenance, treat the stanchions, bushings, and wiper seals with a suspension spray. Apply a drop to each fork leg and compress the fork a few times. Then wipe away any excess with a soft cloth.


Need help with your next project?
Get in touch with our customer service team. Our bike experts are happy to help.
Want to stay up to date?
Get the latest advice, offers, and cycling trends - delivered straight to your inbox.
