

How to install a hub dynamo
See and be seen – a dynamo hub gives you reliable power for your bike lights without worrying about battery life. This guide shows you how to install a dynamo hub on a gravel bike, step by step.
> The benefits of a dynamo hub
> Jump to step-by-step guide
> Jump to FAQs

Dynamo hubs for gravel bikes – power your lights and more
Reliable lighting matters – especially when the days get shorter. A dynamo hub powers your front and rear lights directly while you ride, so you're always ready to go. On multi-day bikepacking trips, it can also charge USB devices like GPS units or smartphones through a compatible power adapter.
What you'll learn
Jump to the step you need:
- What you need for dynamo hub installation
- Step-by-step guide
1. Install the dynamo wheel
2. Mount the front light
3a Route the cable inside the fork
3b Route the cable along the fork
4. Prepare the cable ends
5. Attach the connector plug
6. Connect to the dynamo hub
7. Mount the rear light
8. Route the cable along the fender
9a. Route the cable along the frame
9b. Route the cable inside the frame
10. Shorten the cable
11. Prepare the cable ends
12. Connect the rear light to the front light - FAQs


WHAT'LL YOU NEED
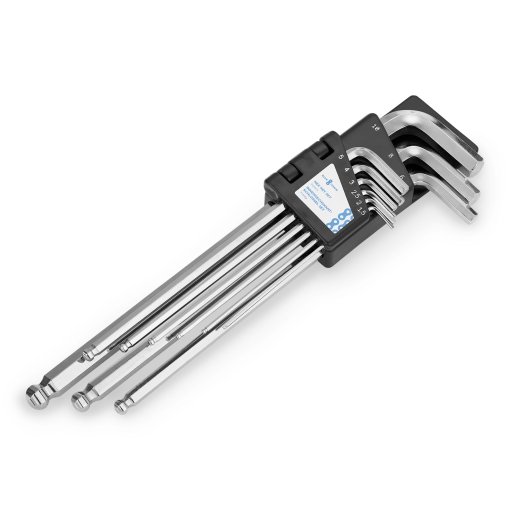
Tools
- Allen key set
- Torx key set
- 8 mm open-end wrench
- Slotted screwdriver
- Flush cutters or wire stripper
- Combination pliers or needle-nose pliers
- Lighter
- Torque wrench (optional)
- Repair stand (optional)
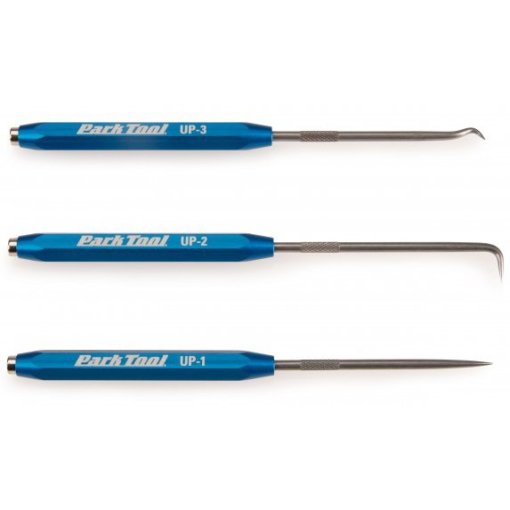
- Pick tools (optional)
- Internal cable routing kit (optional)
Materials and accessories
- Dynamo hub wheel
- Front light and, if needed, a rear light
- Electrical tape, cable ties or cable covers
- Brake cleaner and a cloth
- Two-core connection cable with flat connectors on one side
- 2x 2.8 mm female spade connectors and matching heat-shrink tubing

Step-by-step guide
Got your bike in a repair stand or stabilized safely? Let's get started.

STEP 1
Install the dynamo wheel
Remove the old front wheel and transfer your tire setup to the new dynamo hub wheel if needed. Mount the wheel firmly and centered in the fork dropouts. Position the contact plate so the connector can be attached easily in the next step.

STEP 2
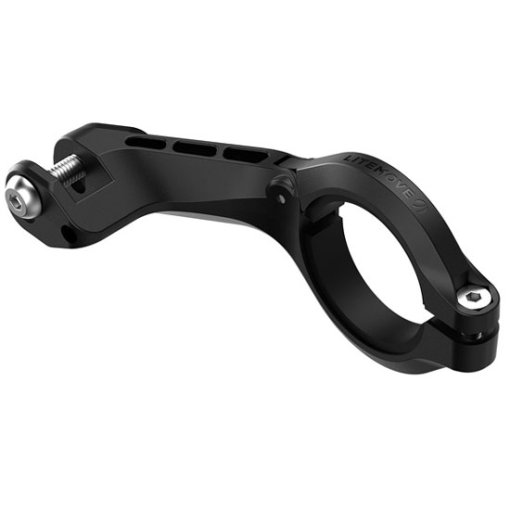
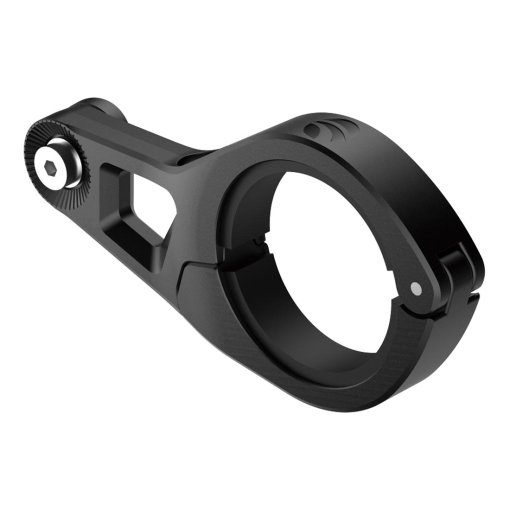
Mount the front light
Mount the front light at the fork crown or on a handlebar mount. Angle it so the tire sits as directly beneath it as possible – this sets the correct beam height.


STEP 3a
Route the cable inside the fork
Some modern carbon gravel forks have dedicated cable ports or internal channels for dynamo systems. Check your fork before starting – if internal routing is available, take advantage of it.

STEP 3b
Route the cable along the fork
Run the cable from the front light down the right fork leg toward the dynamo hub. Secure it with cable ties, electrical tape, or adhesive cable clips. Clean the fork leg thoroughly with brake cleaner before attaching anything. Make sure no cable sections are left loose when you're done.

STEP 4
Prepare the cable ends
Route the cable to the contacts on the dynamo hub. If it's too long, trim it slightly with the flush cutters. Separate the two wires by about 5 cm and strip about 1.5 cm of insulation from each wire. Then twist the exposed wire ends together.

STEP 5
Attach the connector plug
Open the plastic connector carefully with a flat-head screwdriver. Insert the black-and-white ground wire into the terminal marked "m" or "⏚" and the black positive wire into the opposite terminal. Fold the exposed wire ends over and close the connector firmly.

STEP 6
Connect the hub dynamo
Push the connector onto the hub until it clicks. Spin the wheel by hand – the front light should come on and be aimed so it doesn't dazzle oncoming traffic.
Gravel bike lighting and power for bikepacking
Many bikepackers prefer to use a hub dynamo only to power the front light and charge a phone or headlamp. For the rear light, they often choose a separate battery-powered rear light. The reason is usually cable routing along the frame, which can make it harder to attach bags flexibly. Check out our FAQs if you'd like to learn more about powering other devices. Read on if you'd still like to connect a rear light.

STEP 7
Mount the rear light
Mount the rear light on the fender, pannier rack, or seat stay depending on your setup. On gravel bikes used for touring, the most common positions are behind the seatpost or – if you're running bikepacking bags – on the seat stay near the brake caliper. If you've already run the rear light cable, connect the plug end to the light now before routing the rest.

STEP 8
Route the cable along the fender
No fenders? Skip to step 9. If your bike has fenders, run the cable along the inside and secure it with electrical tape. Clean the surface thoroughly before attaching anything.

STEP 9a
Route the cable along the frame
For external routing, secure the cable with cable ties, electrical tape, or adhesive cable clips. Clean the frame thoroughly with brake cleaner before attaching anything.

STEP 9b
Route the cable inside the frame
If your frame has internal routing channels, run the dynamo cable alongside the rear brake hose. Tape the cable to the brake hose with electrical tape and re-route both through the frame together. On larger channels, a spare cable housing fed in from one end can help pull the dynamo cable through.
Pro tip: Pick tools and an internal cable routing kit make this significantly easier.

STEP 10
Shorten the cable
Trim the cable toward the fork end if needed, but leave enough slack to turn the handlebars fully in both directions. If you need more movement at the front, wrap the cable around a screwdriver ten times to form a short spiral section.

STEP 11
Prepare the cable ends
Separate the two wires by about 5 cm and strip about 1.5 cm of insulation from each wire. Slide a piece of heat-shrink tubing (about 2.5 cm long) onto each wire before crimping. Crimp the flat connectors onto the wire ends with pliers, then slide the heat-shrink tubing over the connectors and heat it until it shrinks tightly around them.

STEP 12
Connect the rear light to the front light
Connect the rear light wires to the terminals on the front light. Make sure the wires are connected correctly – black-and-white ground to ground, black positive to positive. Spin the front wheel by hand. If both lights come on, the installation is complete. Don't forget to switch on the front light.
FAQs


Need help with your next project?
Get in touch with our customer service team. Our bike experts are happy to help.


Always up to date
Be the first to hear about deals, news, and cycling trends – delivered straight to your inbox.
