

Adjust your front derailleur
A properly adjusted front derailleur is essential for fast, precise shifting. With the right tools and a little know-how, you can make all the necessary adjustments yourself. This guide walks you through the process step by step on an installed front derailleur.

When should you adjust your front derailleur?
Fast, precise shifts from the small chainring to the large one are essential for smooth gear changes, especially on a road bike. To keep shifting performing at its best, your front derailleur needs to be adjusted correctly. If you notice unusual noises while shifting or the chain drops off the chainrings, it's time to make an adjustment. This guide shows you exactly how to do it.
What you'll learn
Mechanical vs. electronic front derailleurs
Your bike is equipped with either a mechanical or an electronic front derailleur, depending on the groupset. No matter which system you have, two things are essential for precise shifting: the front derailleur must be set to the correct height and aligned properly, and both the upper and lower limit screws must be adjusted correctly. After that, the setup differs slightly. Mechanical front derailleurs require the correct cable tension, while electronic systems use trimming.
The basic adjustment process is similar for both systems, although electronic groupsets such as SRAM AXS, Shimano Di2, and Campagnolo EPS each have their own trimming procedure. Follow the three steps below to establish a solid baseline setup for your front derailleur.
Note: This guide covers limit screw adjustment, cable tension, and general trimming tips for electronic front derailleurs.

PREPARATION
Tools and limit screw basics
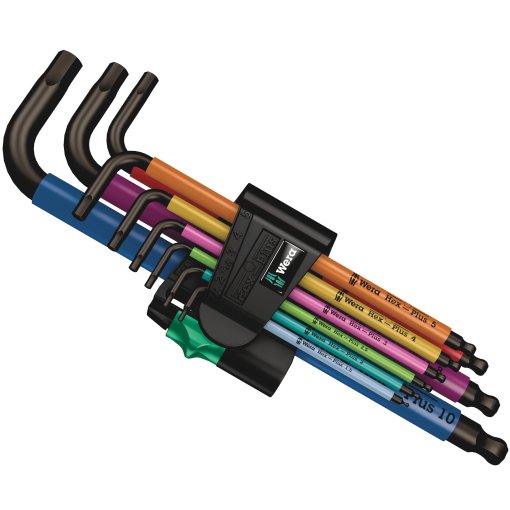
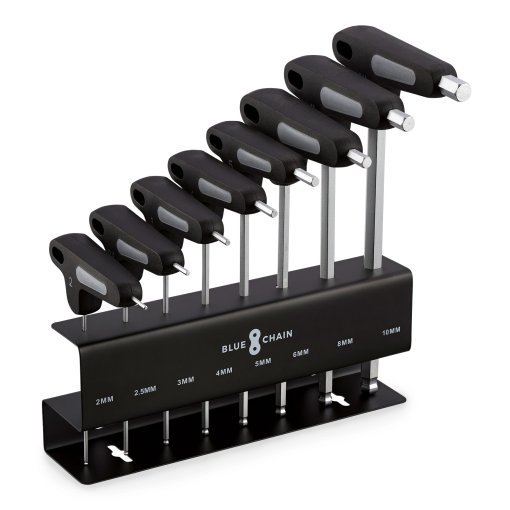
You don't need any special tools to adjust the limit screws. All you need is a suitable screwdriver or Allen key for the adjustment screws — typically a 2 mm Allen key or, on older models, a PH2 Phillips screwdriver.
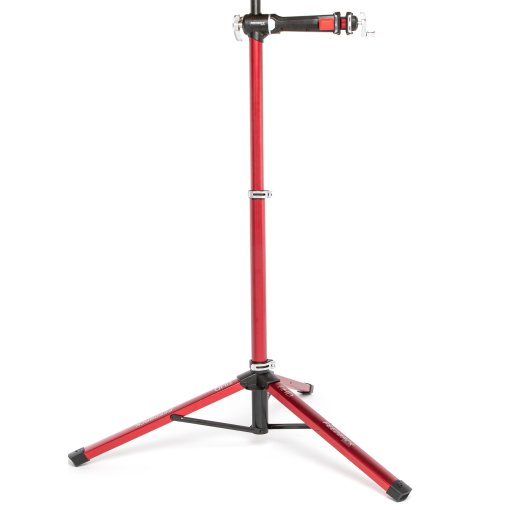
Expert tip: A repair stand makes the job easier, but it isn't essential.
Your front derailleur has two limit screws: the L screw (Low) sets the lower limit, while the H screw (High) sets the upper limit. Turn the corresponding screw clockwise or counterclockwise to adjust the derailleur position.
- L screw (clockwise): Derailleur moves away from the frame
- L screw (counterclockwise): Derailleur moves toward the frame
- H screw (clockwise): Derailleur moves toward the frame
- H screw (counterclockwise): Derailleur moves away from the frame

STEP 1
Adjust the lower limit screw
Begin with the lower limit screw (L). Shift the chain onto the small chainring at the front and the largest cog at the rear. Leave about 1 mm of clearance between the inner cage plate of the front derailleur and the chain. The chain should move freely.
Turn the L screw clockwise or counterclockwise until you achieve the correct clearance. Turning it clockwise moves the derailleur away from the frame, while turning it counterclockwise moves it toward the frame.

STEP 2
Set the correct cable tension
Check the cable tension by shifting through all the front gears once. If the chain doesn't shift smoothly from the small to the large chainring, increase the cable tension by turning the barrel adjuster on the shifter counterclockwise. If the chain doesn't return cleanly to the small chainring, the cable tension is too high. Reduce it by turning the barrel adjuster clockwise.

STEP 3
Adjust the upper limit screw
The upper limit is adjusted the same way as the lower limit. Shift the chain onto the large chainring at the front and the smallest cog at the rear. Leave about 1 mm of clearance between the outer cage plate of the front derailleur and the chain.
Turn the H screw clockwise or counterclockwise until you achieve the correct clearance. Turning it clockwise moves the derailleur toward the frame, while turning it counterclockwise moves it away from the frame.
How to trim an electronic front derailleur
Electronic groupsets let you fine-tune the position of the front derailleur cage using the trim function for even more precise shifting.
- SRAM AXS: Press the button on the inside of the left shift/brake lever to enter trim mode.
- Campagnolo EPS: Enter trim mode using the mode buttons on the inside of the shift/brake levers.
- Shimano Di2: Use the +/- button on the junction box to enter trim mode.
As long as the chain runs freely, you can trim the derailleur to a clearance of about 0.5 mm using the shifters.
Finally, shift through all gear combinations again and make any adjustments if needed.



Need help with your next project?
Get in touch with our customer service team. Our experienced cyclists are happy to help.


Want to stay up to date?
Be the first to hear about great deals, news, and trends – delivered straight to your inbox.