

How to wrap handlebar tape
Worn-out bar tape? Ready for a new look? Rewrapping your handlebars is a simple job you can tackle at home. All you need is fresh tape, a few basic tools, and the right technique. We'll show you how to wrap bike handlebars to get a smooth, secure wrap in five easy steps.

How to wrap bar tape – what you'll learn

WHAT YOU'LL NEED
Prepare your tools and materials
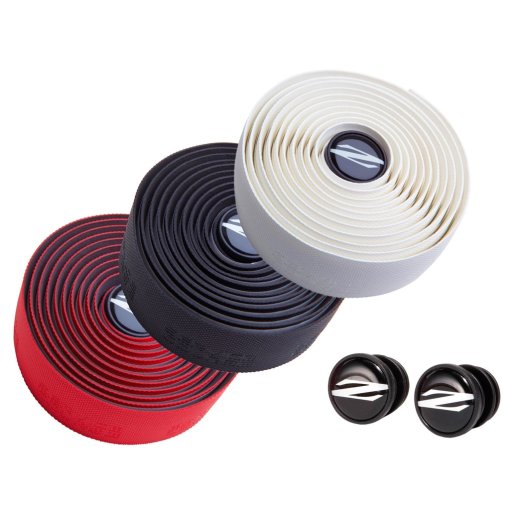
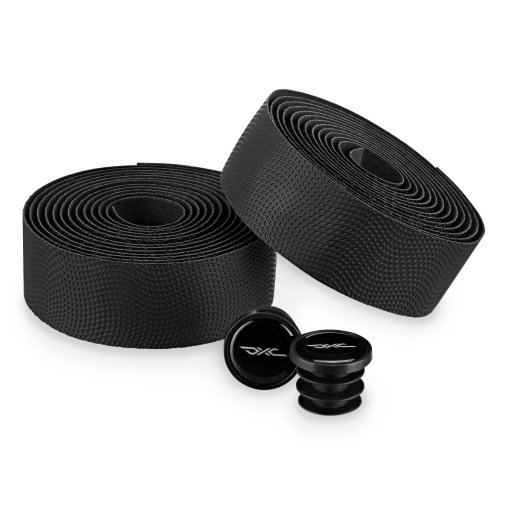
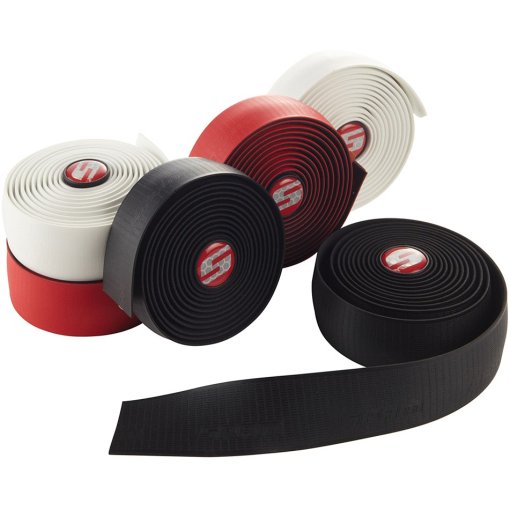
- New handlebar tape
- Bike-safe cleaning solution
- Cleaning cloths
- Scissors
- Electrical tape (optional)
- Bar end plugs (optional)
- Double-sided tape (optional)
How to wrap handlebar tape – step by step
Ready to give your handlebars a fresh wrap? Follow these five steps for a clean finish that stays put.
Preparation
Start by rolling back the rubber brake hood covers. Remove the old bar tape, then clean the handlebars thoroughly, including any leftover adhesive. A clean surface helps the new tape stay in place. Check that your brake and shift cables are routed correctly and secured against the bars before you start wrapping.
Pro tip: If your new tape doesn't have an adhesive backing, add a small piece of double-sided tape near the ends of the drops and on the tops to help hold it in place.
Start at the ends of the drops and work toward the center of the handlebars. Wrap outward from the bike – counterclockwise on the left and clockwise on the right. Leave about half the tape's width hanging over the end of each drop. You'll tuck this inside the bar when you install the end plug.

STEP 1
Start at the end of the drop
Hold the tape at a slight angle and begin wrapping toward the brake lever. Overlap each turn by about 5 mm, making sure the tape or its adhesive backing has enough contact to stay secure. Keep steady tension as you work. The tape should sit snugly against the bar and follow its curves without bunching up or stretching too far.
Pro tip: Pay attention to the outside of each bend. Keeping the overlap consistent here gives you a smoother, more even finish.

STEP 2
Wrap around the brake lever from below
The brake lever is the trickiest section to wrap, but a little care here makes all the difference. Many bar tape sets include two short extra pieces to cover the lever clamps and any exposed handlebar. Keep these handy. Wrap the tape to just below the brake lever. Then bring it up from the inside of the bar, across the lever body, and toward the outside. Keep the tape snug as you go.

STEP 3
Wrap around the brake lever from above
With the tape still under tension, bring it back down around the front of the drop. It should now run along the outside of the bar, just below the tops. Continue around the upper section of the handlebar to complete the crossover. Check that the tape sits flat and covers the area around the lever. If needed, position one of the extra tape pieces over the exposed clamp before continuing.
Pro tip: Got plenty of tape to work with? Try the Italian figure-eight method. By wrapping around the lever in a figure-eight pattern, you can cover the clamp area without leaving gaps.

STEP 4
Finish wrapping the tops
Once you've cleared the brake lever, continue toward the center of the handlebar. The wrapping direction changes as you move above the lever and follow the shape of the bar. Keep the tape snug and the overlap even as you work along the tops. Stop once you've covered the area where you want grip and cushioning.

STEP 5
Trim, secure, and insert the bar plugs
Time for the finishing touches. Stand in front of the bike and cut the remaining tape at an angle so the edge runs straight across the handlebar. Secure it with the finishing strips included with your tape or a piece of electrical tape. Finally, tuck the excess tape at the end of each drop inside the handlebar and press the bar end plugs firmly into place.
Pro tip: Having trouble tucking the tape into the bar ends? Warm it gently with a hair dryer to make it more flexible.
Which handlebar tape is right for you?
Bar tape does more than give your bike a fresh look. It affects how your handlebars feel, how much vibration reaches your hands, and how securely you can grip the bars.
Material, thickness, and surface texture all make a difference. Cork tape offers a softer feel and good vibration damping, while synthetic tape is generally more durable and easier to clean. Here's how they compare.
Cork handlebar tape
- Cork tape is a popular choice for riders who prioritize comfort. Its soft feel helps take the edge off road vibrations, making it well suited to long rides.
- Advantages: Soft feel, good vibration damping, grippy surface
- Disadvantages: Less durable than other materials, harder to clean, absorbs moisture
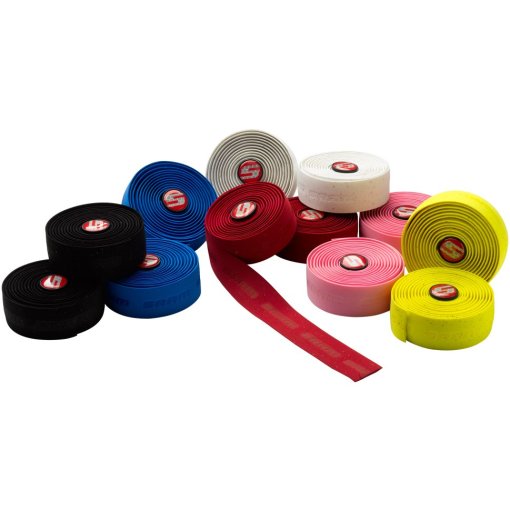
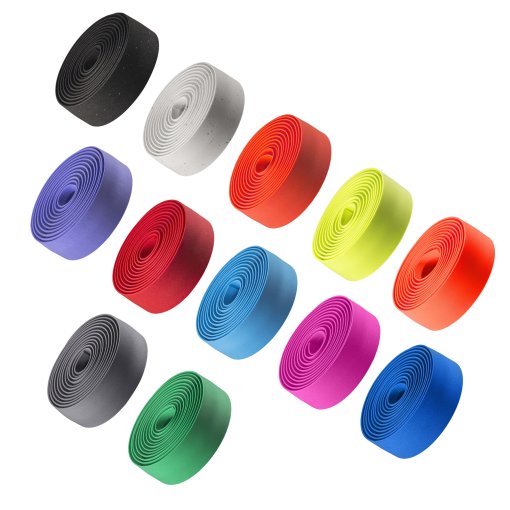
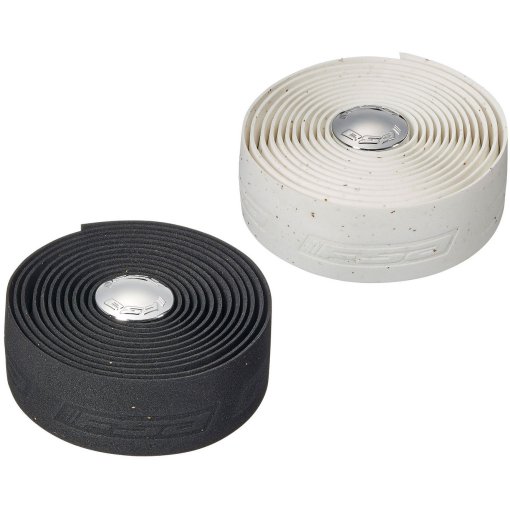
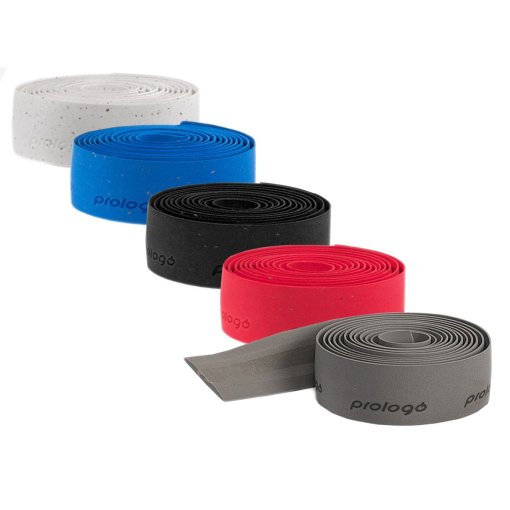
Synthetic handlebar tape
- Synthetic tape comes in a wide range of thicknesses and textures, so you can choose the grip and cushioning that work best for you. It's also easy to maintain and holds up well to regular use.
- Options: Wide range of thicknesses and surface textures
- Advantages: Durable, easy to clean, water-resistant, good grip in dry conditions
- Disadvantages: Some materials can become slippery in cold or wet conditions




Need help with your next project?
Get in touch with our customer service team. Our experienced cyclists are happy to help.
Stay up to date with BIKE24
Be the first to hear about exclusive deals, new arrivals and the latest cycling trends – delivered straight to your inbox.